GRAIN ROT Level Modifiers: Best and Worst Combinations
Turn the elevator roll into a route decision instead of entering every floor with the same plan.
In this field note
GRAIN ROT level modifiers change the value of rooms, the safety of corridors and the amount of time a squad can spend below. The useful question is not “which icon is S-tier?” It is “what must our team do differently before the door opens?” The effects here are player-observed during launch week and can change with balance updates.
Economy-first combinations
Creator-reported, unmeasured synergy: the retained source explicitly links Gold Rush with Heavy Machinery, saying the extra machine combines well with doubled gold, but it does not quantify the gain. Editorial synthesis: when both appear, prioritize a processing-focused route. Black Market also benefits from early in-run gold because its vendor uses currency earned during the dive.
Lucky Find and Hidden Stashes are less demanding. Sweep tables, shelves and breakable banks while following a safe route. They add value, but should not override a broken exit or an active high-threat condition.
Information and recovery combinations
Surveyed gives the team a map room near the elevator. Use it immediately: identify likely loops, processing locations and dead ends before enemies force a rushed choice. Overcharge provides more spark recovery margin after a vessel breaks. It supports controlled aggression, not reckless separation.
Exit-first combinations
Power Outage is the clearest priority override. The modifier guide says the return elevator will not function until the missing fuse is found, and mentions lockers and toolboxes; the solo tutorial separately demonstrates boxes and lockers. Return the fuse to the panel before moving heavy loot. Hazard Zone adds traps to corridors, so slow down and keep carrying paths visible.
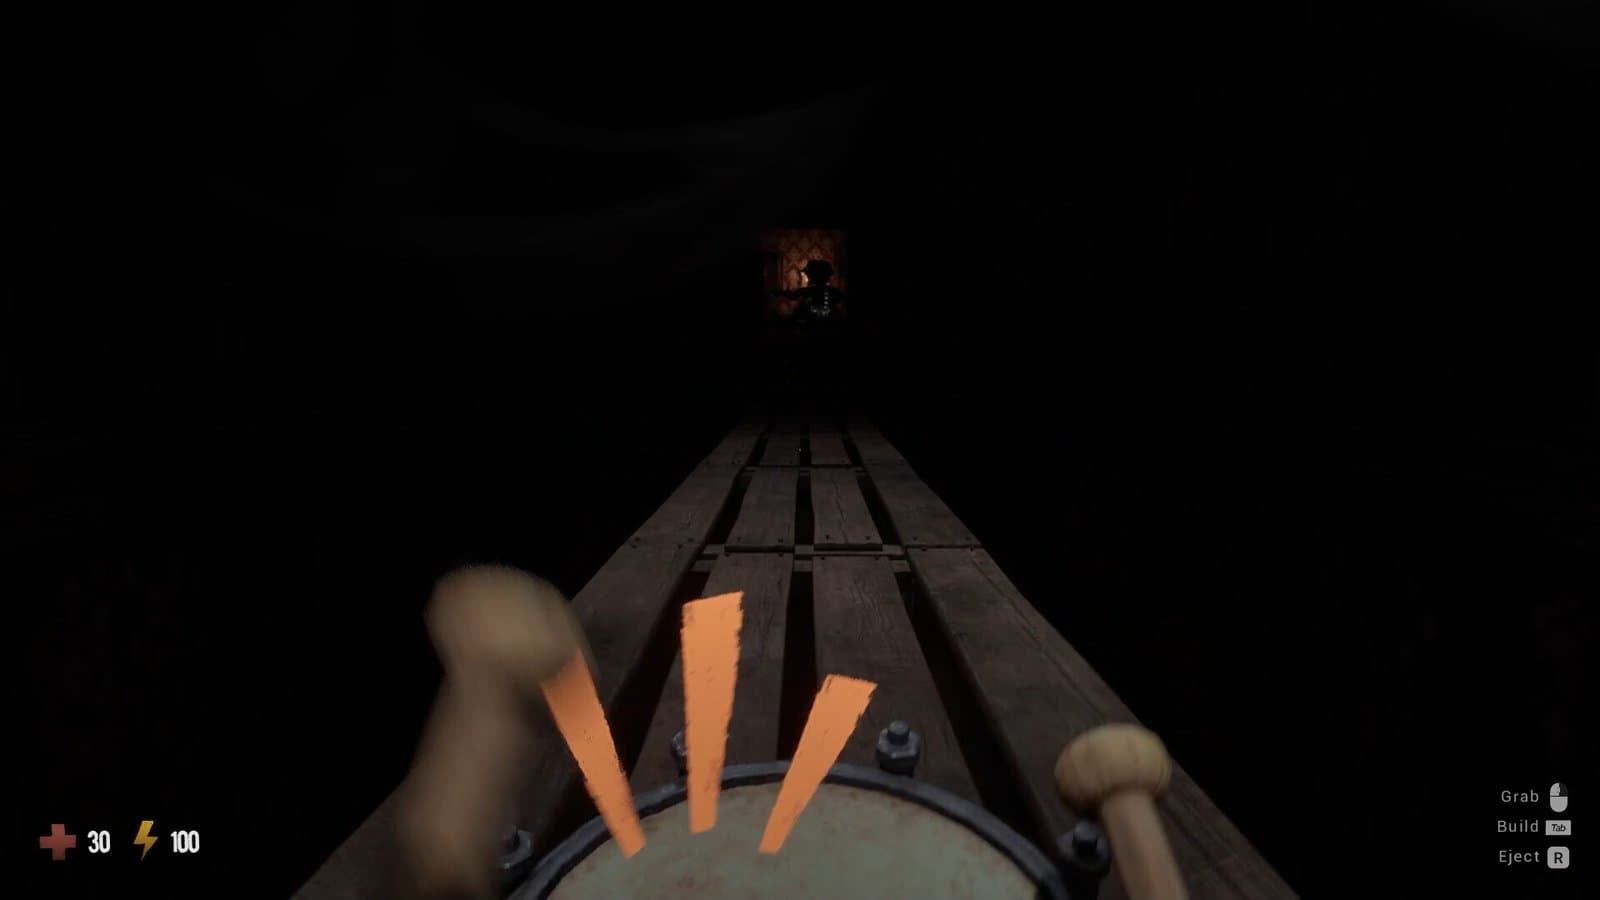
Lights Out is not the same problem. There is no fuse repair for the darkness according to the video. Tighten spacing, cover blind angles and reduce long carries through unknown rooms.
Enemy-pressure combinations
Reinforcements adds another Corrupted spawn. Mutation can add elemental damage. Nesting Grounds keeps Rot Lurkers emerging. Editorial inference: combining two such pressure effects likely narrows the safe looting window, but the retained source does not directly test every pair. Favor a short extraction over clearing every object, and use ranged options or escape routes rather than testing every enemy at close range.
Rot Bloom creates a separate timer through corruption. The observed video reports that maximum corruption can disrupt voice, destroy held loot through vomiting and spread to nearby teammates. Monitor the bar, use the current in-game treatment, give an infected player space and extract before the condition consumes the haul.
A three-question decision rule
Before opening the door, ask: Is the elevator operable? What makes money or scrap valuable this run? What condition ends our safe looting window? Those three answers produce a better plan than a universal tier list.
Evidence status: random changing ruins are part of Steam’s official description. Individual modifier effects are player-observed from launch-week sources; combination priorities are editorial synthesis unless a pairing is explicitly attributed. Heavy Machinery plus Gold Rush is creator-reported synergy but was not measured. Names, values and counters remain version-sensitive.
Sources and evidence
- GRAIN ROT on Steam — official store page
- The Hairy Goats — elevator modifiers guide
- PapaRossi — playthrough and tutorial
This is an independent player guide, not an official Beck & Branch Games, Neem Interactive or Steam website.